Did you know that ombre nails have taken the beauty world by storm, with a 230% increase in searches for “ombre nail inspiration” last year alone? Your fingertips are about to become the canvas for a stunning gradient masterpiece. Get ready to elevate your nail game with mesmerizing color blends and artistic flair. Whether you prefer subtle transitions or bold contrasts, ombre nails offer endless possibilities to express your unique style. Say goodbye to boring manicures and hello to a trend that is as versatile as it is eye-catching.
Contents
- 1 Understanding Ombre Nail Art
- 2 Step-by-Step Guide to Creating Ombre Nails
- 3 Timeless and Trendy Ombre Color Combinations
- 4 Special Techniques for Unique Ombre Effects
- 5 Seasonal Ombre Nail Inspirations
- 6 Ombre Nail Designs for Special Occasions
- 7 Tips for Maintaining Ombre Nails
- 8 Where to Find More Ombre Nail Inspiration
- 9 Summary
Understanding Ombre Nail Art
Achieving the Perfect Blend
Creating ombre nail art involves blending two or more colors seamlessly on your nails, resulting in a stunning gradient effect. You can achieve this beautiful transition through various methods like sponging, brush strokes, or using a makeup sponge.
When creating ombre nails, start by selecting your desired colors. Apply the lightest color as the base coat and let it dry completely before moving on to the next step. Then, apply the second color at the tip of your nail or wherever you want to see the gradient effect.
To blend the colors effectively for your ombre nails, use a sponge or brush to overlap where they meet gently. This technique helps create a smooth transition between shades, giving your nails that perfect ombre look.
Experimenting with Techniques
Experimenting with different techniques is key to finding what works best for you when creating ombre nail art. Try using different tools like makeup sponges versus brushes to see which gives you a more seamless blend between colors.
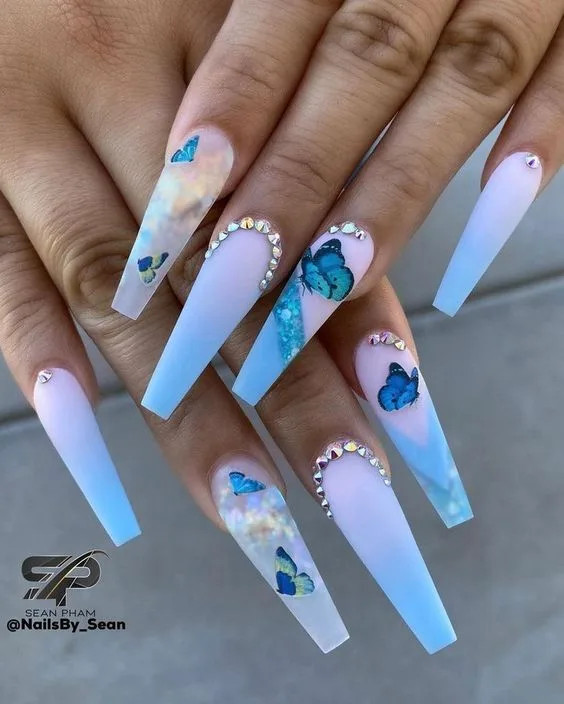
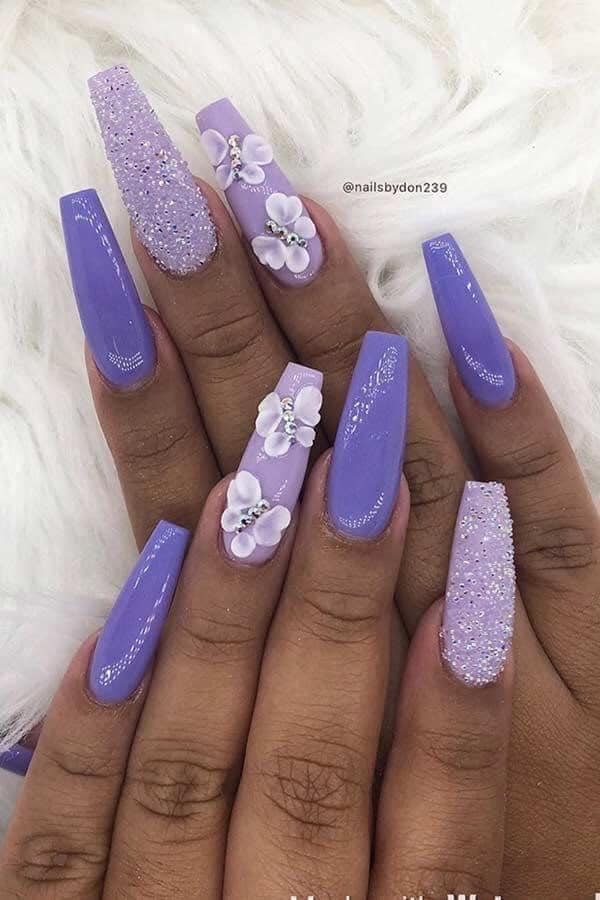
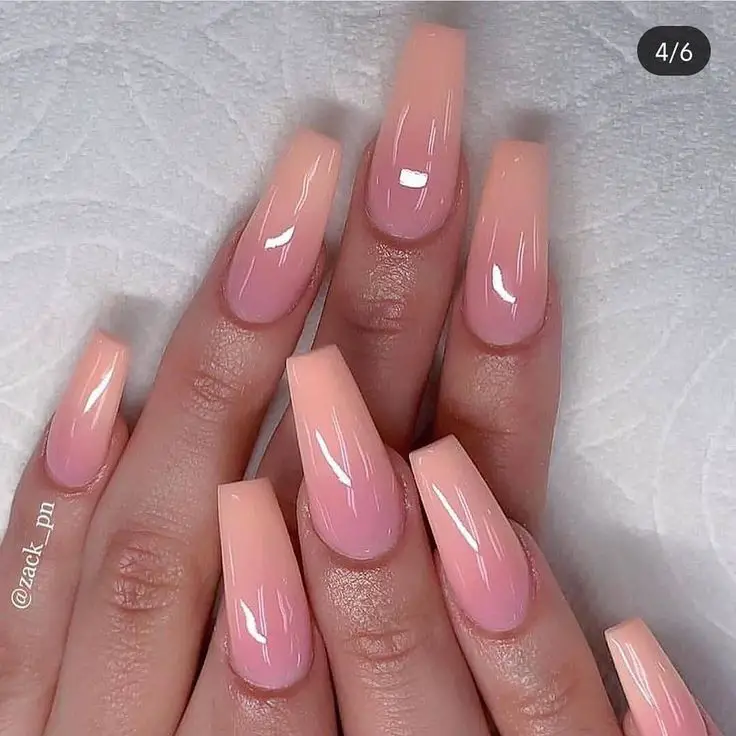
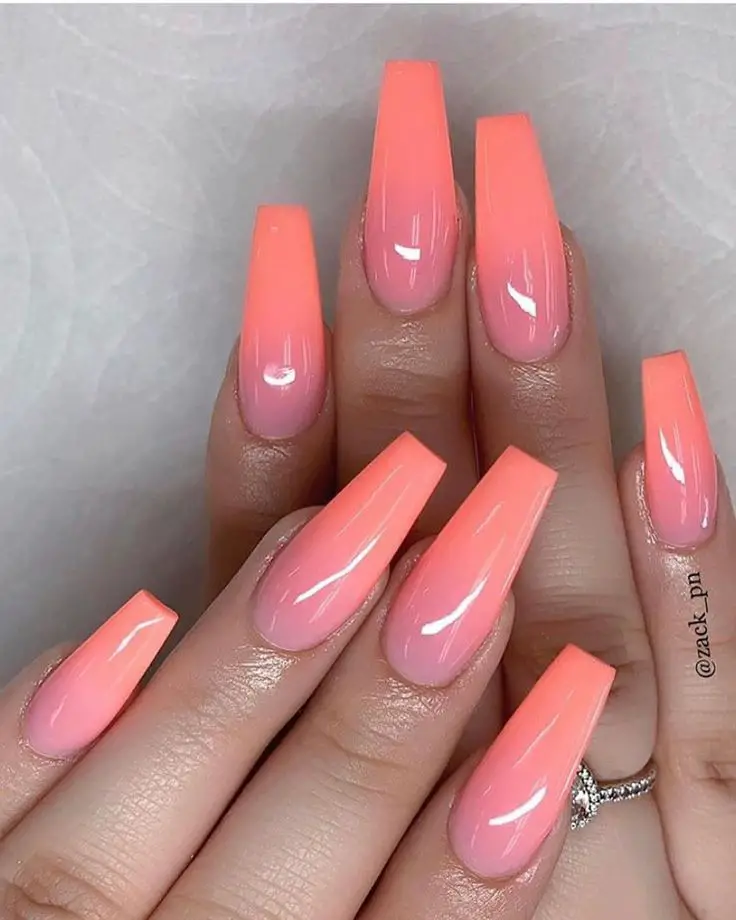
One advantage of ombre nail art is its versatility – you can choose soft pastel hues for a subtle look or go bold with vibrant shades for a statement style. The possibilities are endless.
Step-by-Step Guide to Creating Ombre Nails
Choosing Colors
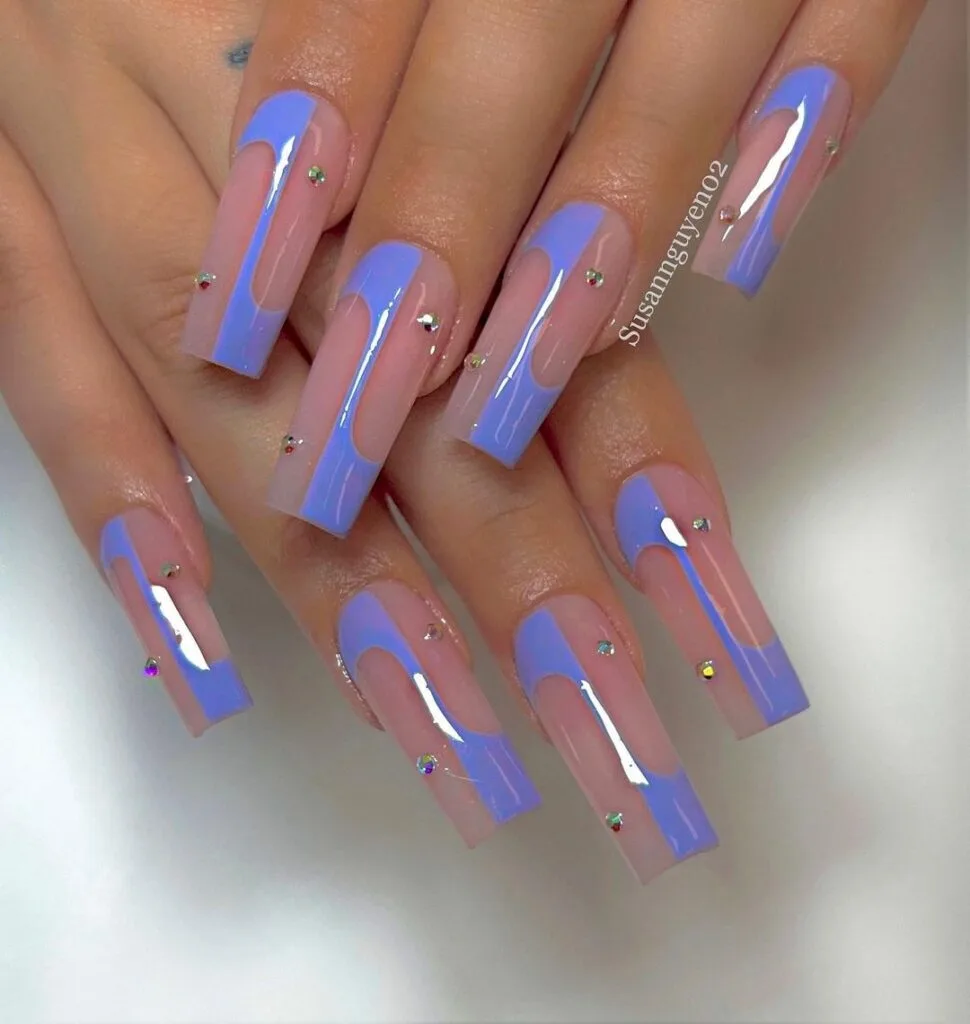
When creating ombre nail art, start by selecting your preferred color combination. You can opt for shades like blue and white, pink and purple, or any colors that blend well together. Gather the nail polish shades you’ll need to achieve the ombre effect.
To create a stunning ombre design on your nails, choose colors that complement each other. For example, if you want a subtle look, consider using light pink transitioning into white. If you prefer a bold style, go for dark blue fading into black.
Applying Nail Polish
Begin by applying a base coat to protect your nails from staining and ensure an even application of the nail polish. The base coat also helps the ombre effect blend seamlessly across your nails. Once the base coat is dry, it’s time to move on to the next step.
To ensure smooth blending of colors when creating ombre nails, use a makeup sponge instead of directly applying polish with brushes. Dab each color onto the sponge and gently press it onto your nails in a gradient pattern from lightest to darkest or vice versa.
Timeless and Trendy Ombre Color Combinations
Classic Combinations
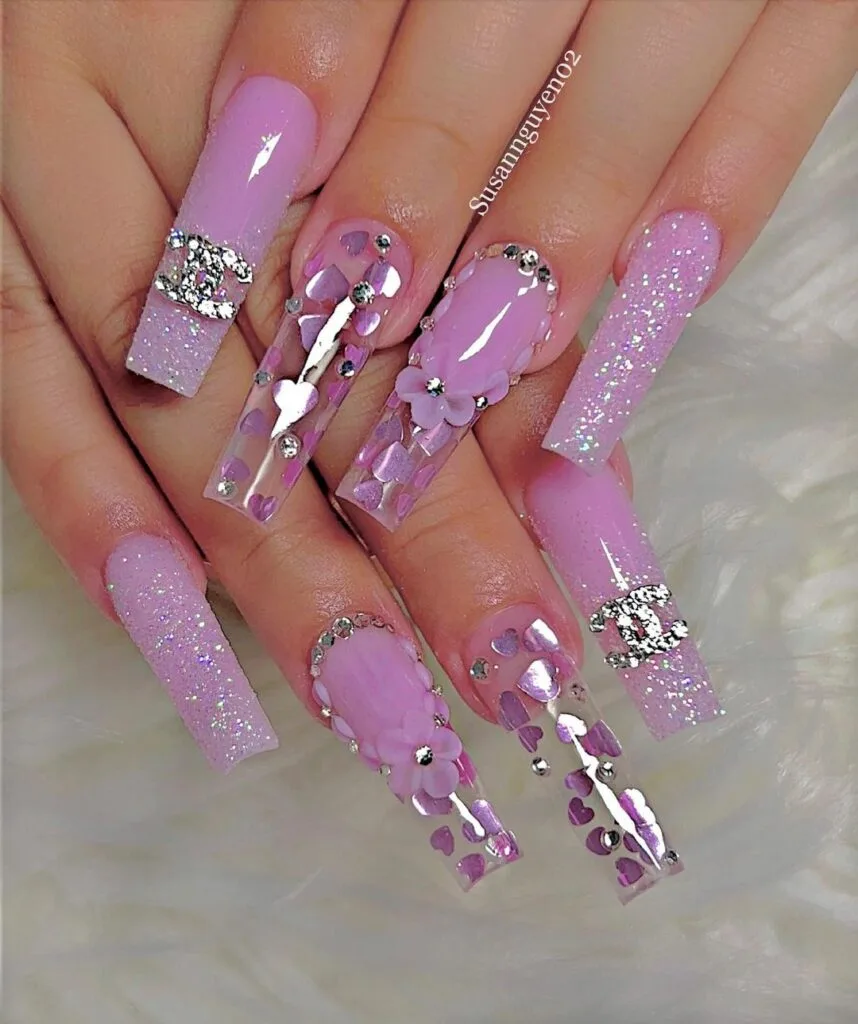
When choosing ombre nail inspiration, consider classic color combinations like pink, blue, and purple. These shades blend seamlessly for an elegant look on your nails. The gradual fade from light to dark creates a sophisticated ombré look that never goes out of style.
For a timeless yet trendy twist, experiment with metallic shades such as gold and silver. Combining these hues can give your nails a glamorous touch, perfect for special occasions or adding some sparkle to your everyday style. Metallic ombre nails are a favorite among those who love to embrace the latest trends in fashion.
Vibrant Options
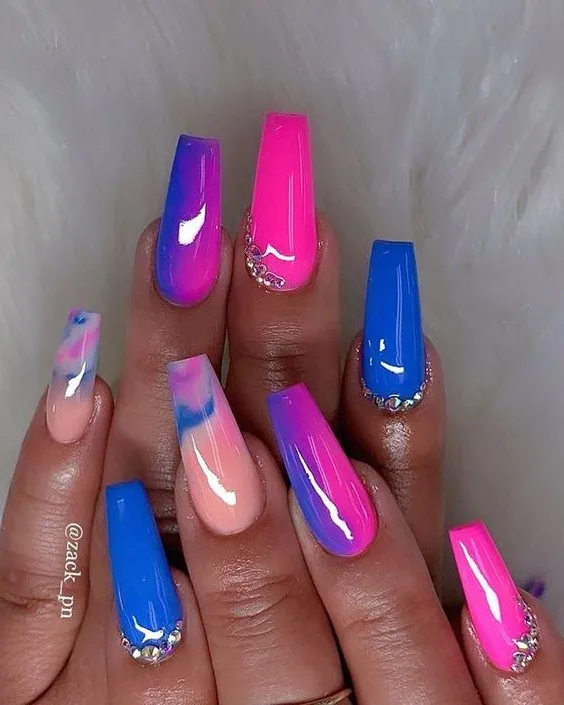
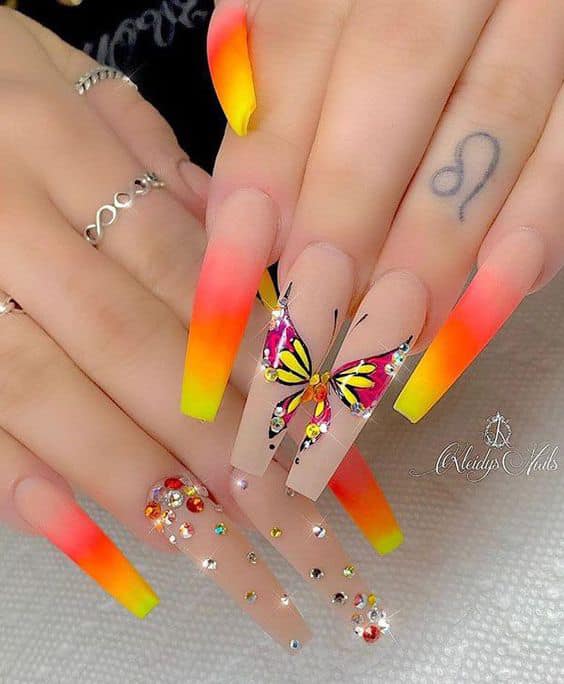
To add a fun and vibrant pop of color to your nails, try unexpected combinations like coral and mint green. This playful mix creates a fresh and lively ombré look that is sure to turn heads wherever you go. Embracing unique color pairings allows you to express your creativity through your nail art.
- Pros:
- Classic colors offer timeless elegance.
- Metallic shades add glamour.
- Experimenting with vibrant hues allows for creative expression.
- Cons:
- Certain color combinations may not suit all preferences.
Special Techniques for Unique Ombre Effects
Reverse Ombre Effect
To create a unique ombre effect, start with a darker shade at the cuticle area and blend it into a lighter color towards the tip. This technique gives your nails a stylish gradient look that transitions seamlessly from dark to light.
For example:
- Dark navy blue transitioning to sky blue creates a stunning reverse ombre effect.
- Deep burgundy fading into blush pink offers an elegant twist on traditional nail designs.
Ombré French Manicure
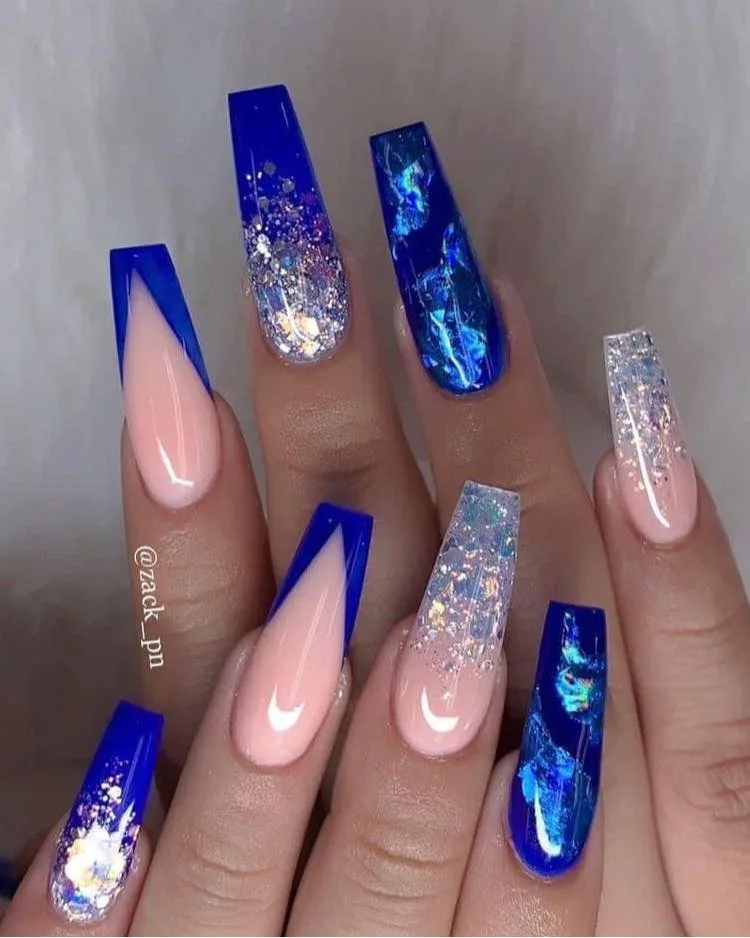
Instead of opting for classic white tips, try blending two complementary colors at the tips of your nails for an ombré French manicure. This modern take on a timeless style adds sophistication and flair to your nails.
For instance:
- Pairing lavender with lilac hues can give you a soft and feminine ombré French manicure.
- Mixing coral and peach tones creates a vibrant and eye-catching look perfect for summer.
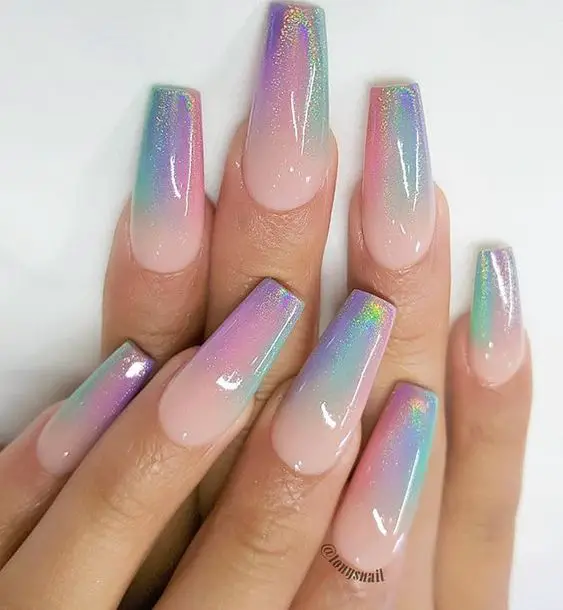
Sparkling Gradient Design
Elevate your ombre nail art by incorporating glitter polish into the gradient design. Adding sparkle to your nails enhances the dimension of the ombre effect, making them stand out even more.
Examples include:
- Dusting silver glitter over pastel shades for a subtle yet glamorous finish.
- Layering holographic glitter on top of bold colors like black or red for a statement-making manicure that sparkles in any light.
Seasonal Ombre Nail Inspirations
Christmas Vibes
Embrace the holiday season with red and green ombre nails for Christmas. Picture a gradient that transitions from deep red to vibrant green, capturing the festive spirit perfectly. These colors will complement your winter wardrobe and add a touch of cheer to your look.
Celebrate the warmth of autumn by adorning your nails with an ombre design featuring shades of orange, brown, and gold. Imagine transitioning from a rich caramel hue to a shimmering bronze, mirroring the beauty of fall foliage. This earthy palette will bring cozy vibes to your fingertips, perfect for sweater weather.
Welcoming Spring
As spring blooms around you, welcome the season with pastel ombre nails in shades of lavender, baby blue, and blush pink. Envision delicate petals blending seamlessly on your nails in a soft gradient. These light pastel hues will reflect the freshness and renewal of springtime.
- Embrace festive seasons like Christmas with themed nail designs.
- Transition between warm tones like orange and brown for autumn-inspired looks.
- Welcome spring by incorporating soft pastel shades into your ombre nail art.
Ombre Nail Designs for Special Occasions
Black to Silver Ombre Design
For a formal event, ombre nail inspiration can be found in a striking black to silver design. This elegant look adds glamour to your outfit and makes you stand out at any special occasion. The transition from dark black to shimmering silver creates a sophisticated and chic appearance that complements evening attire perfectly.
To achieve this stunning ombre effect, start by applying the black polish as the base color on your nails. Then, using a makeup sponge or an ombre brush, blend the silver polish gently towards the tips of your nails. This gradual blending technique creates a seamless transition between the two colors, giving your nails a polished and refined finish.
- Pros:
- Creates an elegant and glamorous look
- Suitable for formal events
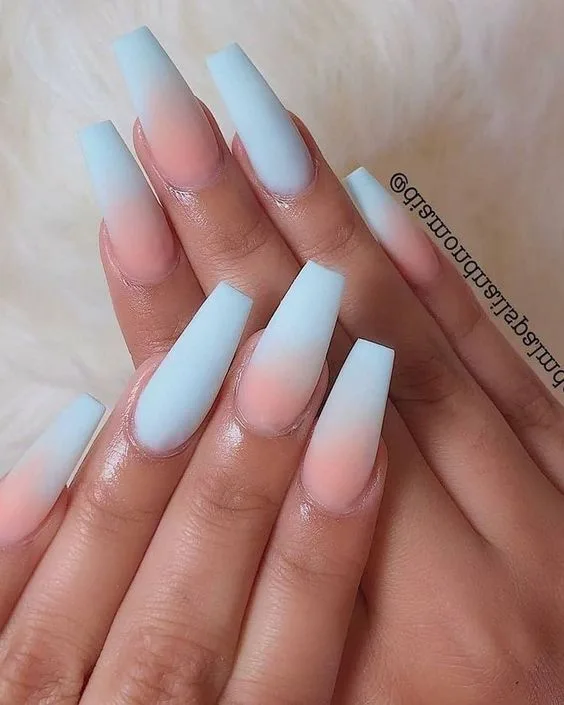
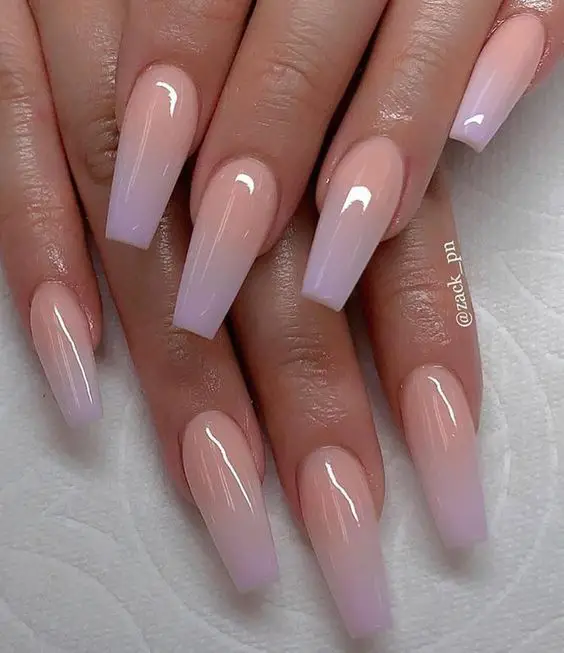
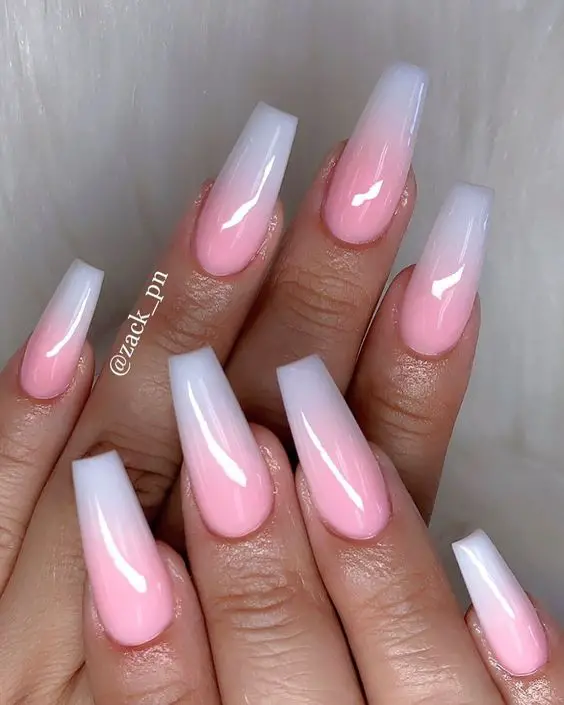
Soft Pink and White Ombre Manicure
For your wedding day, opt for a nail art style that exudes romance with a soft pink and white ombre manicure. This delicate color combination enhances the femininity of your hands while adding a touch of sophistication to your bridal ensemble. The gentle gradient from pale pink to pristine white offers a timeless elegance that complements any wedding theme beautifully.
To recreate this romantic ombre manicure, begin by applying the pale pink polish as the base color on your nails. Using the same blending technique as before, softly fade into white towards the tips of your nails. The result is ethereal and dreamy, perfect for showcasing on this memorable day.
- Cons:
- May not suit every outfit or occasion
- Requires careful application techniques
Tips for Maintaining Ombre Nails
Apply Top Coat Regularly
To keep your ombre nail inspiration looking fresh, apply a top coat every few days. This simple step helps protect the design and makes it last longer. By adding a clear top coat, you can prevent chipping and maintain the vibrant ombre effect.
Regular maintenance with a top coat is essential to ensure that your nail art stays intact. It acts as a shield against daily wear and tear, preserving the beauty of your ombre nails over time.
Protect Your Nails from Damage
To safeguard your stunning ombre nails, avoid exposing them to harsh chemicals or excessive water. Chemicals in cleaning products or prolonged water exposure can lead to fading and chipping of the design. Be mindful when engaging in activities that may compromise the integrity of your nail art.
Protecting your nails from damage ensures that you can enjoy your beautiful ombre look for an extended period without worrying about premature wear and tear.
Where to Find More Ombre Nail Inspiration
Social Media
If you’re looking for ombre nail inspiration, social media platforms like Instagram are your best bet. Follow talented nail artists who regularly post their stunning ombre designs. By following them, you’ll have a constant stream of fresh ideas and trends right at your fingertips.
Joining online nail art communities or forums is another excellent way to discover new ombre nail looks. These spaces are filled with passionate enthusiasts eager to share their favorite designs and techniques. You can engage with others, seek advice, and even showcase your own ombre creations for feedback.
Beauty Blogs
Beauty blogs and websites dedicated to nails often feature tutorials and galleries showcasing a wide array of ombre nail styles. These platforms provide step-by-step guides on how to achieve different ombre effects using various colors and techniques. They serve as valuable resources for both beginners and experienced nail artists seeking inspiration.
- Following top-notch nail artists on Instagram
- Engaging in online nail art communities
- Exploring beauty blogs for detailed tutorials
Summary
You’ve now mastered the art of ombre nails, from understanding the basics to exploring unique color combinations and special techniques. With seasonal inspirations and designs for all occasions, your nail game is sure to be on point. Remember, maintaining your ombre nails is key to keeping them looking fresh and fabulous. If you’re craving more inspiration, check out the suggested sources. Keep experimenting, stay creative, and show off those stunning ombre nails with confidence!